Qwik JS Tutorial – Part 2: Installing and Setting Up Qwik
Introduction
In Part 1, we discussed what Qwik JS is, why it exists, and how its resumability model differs from traditional hydration-based frameworks. Now it is time to get hands-on.
In this part, we will focus on setting up a Qwik development environment from scratch. We will install Qwik using the official tooling, understand the generated project structure, and run the application locally. This guide is written for beginners and assumes only basic familiarity with JavaScript and web development.
Prerequisites
Before installing Qwik, make sure your system meets the following requirements:
- Node.js (LTS version recommended)
- npm, pnpm, or yarn package manager
- Basic understanding of JavaScript and ES modules
- A code editor such as VS Code
Qwik does not require any special hardware or operating system. It can be developed on Windows, macOS, or Linux.
Creating a New Qwik Application
Qwik provides an official command-line tool to scaffold a new project. This tool sets up the recommended configuration and project structure.
Step 1: Run the Create Command
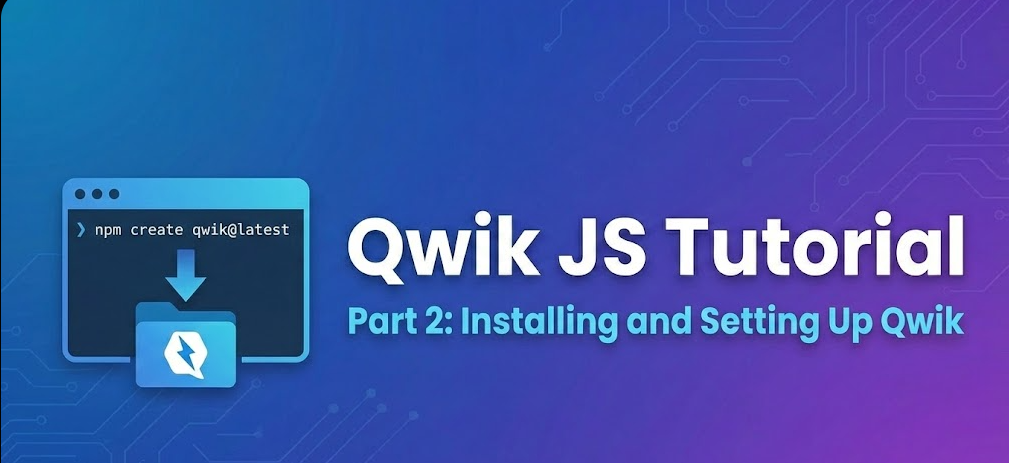
Open your terminal and run the following command:
npm create qwik@latestAlternatively, you can use pnpm or yarn:
pnpm create qwik@latestor
yarn create qwik
Step 2: Project Setup Prompts
During setup, the CLI will ask a few questions:
- Project name – Name of your application folder
- Starter template – Basic app, minimal app, or demo
- TypeScript support – Recommended for most projects
- Package manager – npm, pnpm, or yarn
Choosing the default options is perfectly fine for learning purposes.
Understanding the Project Structure
After installation, your Qwik project will have a structured layout designed to support scalability and performance.
Below is an overview of the most important directories and files.
Root Directory
package.json– Project dependencies and scriptstsconfig.json– TypeScript configurationvite.config.ts– Vite build configurationREADME.md– Basic project documentation
The src Directory
This is where most of your application code lives.
src/
 ├── components/
 ├── routes/
 ├── root.tsx
 └── entry.*.tsx
components/
Reusable UI components are stored here. Components in Qwik are written using JSX and are designed to be lightweight and serializable.
routes/
Qwik uses file-based routing. Each file or folder inside routes represents a route in your application.
Example:
routes/index.tsx   →  /
routes/about.tsx   →  /about
root.tsx
This file acts as the root component of your application. It defines the document structure, including <head> and <body> elements.
Global styles, meta tags, and layouts are typically defined here.
Entry Files
Qwik uses different entry files for different execution environments:
entry.server.tsx– Server-side rendering entryentry.client.tsx– Client-side interactions
These files help Qwik manage rendering without forcing full hydration.
Running the Development Server
Once installation is complete, move into your project directory:
cd your-project-nameStart the development server:
npm run devAfter the server starts, you will see a local URL (usually http://localhost:5173). Open it in your browser to view the app.
What Happens When the App Loads?
When you open a Qwik app in the browser:
- HTML is rendered on the server
- The page loads without executing most JavaScript
- Event handlers are loaded only when interaction occurs
This behavior allows faster initial rendering and reduced JavaScript execution.
Exploring the Default Home Page
The starter template includes a simple home page that demonstrates:
- Basic components
- Event handling
- Scoped styles
- Lazy-loaded interactions
You can open src/routes/index.tsx to explore how the page is implemented.
Development Workflow
A typical Qwik development workflow looks like this:
- Create or modify components
- Add routes using the
routesdirectory - Use signals or stores for state
- Preview changes instantly with hot reload
Qwik uses Vite internally, which provides fast rebuilds and a smooth development experience.
Common Setup Issues and Tips
Node Version Issues
If you encounter errors during installation, check your Node.js version. Using an LTS version usually resolves compatibility issues.
Port Conflicts
If the default port is already in use, Vite will automatically assign a different port and display it in the terminal.
Clean Install
If dependencies fail to install correctly, deleting node_modules and reinstalling packages often helps.
Preparing for the Next Step
At this point, you should have:
- A working Qwik development environment
- Understanding of the project structure
- Ability to run and modify the app locally
This setup forms the foundation for learning Qwik fundamentals.
Summary
In this part, we covered:
- System requirements for Qwik
- Creating a new Qwik application
- Understanding the project structure
- Running the development server
- Basic development workflow
With the environment ready, we can now focus on writing Qwik components and understanding its core APIs.